Innovation Session: The Kroleski Family Adventure Mobile – The Sleeping Platform
This week I will finish working on the raised sleeping platform/storage area.
I was able to finish everything over the holiday weekend and even got a chance to test it out. I decided I’d rather work on it during the daylight hours instead of my usual Tuesday night slot. My neighbors probably appreciated that on account of the power tools.
I hinted at a design last week and thought I had a good one. Like always I ran into complications and had to adjust as I went.
The first requirement was that it be versatile. I didn’t want to build a permanent frame and get stuck with one design. The life of an adventurer is not often predictable. Currently, I use my truck primarily for surfing & camping, but who knows what the future holds. Maybe I’ll get the dog I’ve always wanted. Maybe I’ll find a new sport I love. Flexibility is a must.
To achieve this I built a lightweight support frame that is easy to adjust and not permanently affixed.
The two long 2x4s rest on parts of the truck that were designed for such – Nissan made it easy on me here. The center support between the wheel wells is a few parts of a 2×6 with an extra wide base so it doesn’t tip over. Those cross beams are actually just resting on the other wood with the metal corners I screwed into either side. So the whole thing is unattached and easy to change.
Next up was the plywood sheeting. This is a very common thing to do to a truck so I was able to find lots of reading. 3/4″ thickness seemed like the favorite – most people felt 1/2″ was too thin. I read one very insightful post (that I wish I could find again and link to) about how a full platform isn’t that desirable for long stays. If you ever get stuck inside the truck while it is raining, being in a 20″ tall space where you can’t sit up starts to feel like a coffin. The writer recommended making a half shelf so that you could sit up at one end and sleep with your feet under the platform part. This is also the ideal setup for having a large dog ride in the back.
I decided I could get the best of both worlds by building two halves. I could then have a full platform when I wanted it and double them up if I only wanted a half-platform. So I cut two 3’x5′ sheets and tried to get them in. That was when I realized that because of the lips of the truck I couldn’t maneuver the plywood in. That is when I called an audible and went with four pieces.
The decision at this point was whether to have four perfect rectangles or to account for the nooks in the truck wall. I decided that the nooks were just big enough that I would be constantly losing things through them, so I opted to cut the wood to fit. While I was at it I also off-centered the splits – that seemed like a good idea for some reason. I’ll decide why later.
Then it was time to attach the carpet. I used a spray adhesive (read: toxic chemicals) to stick the top of the wood, then wrapped it and used a staple gun to secure the back. Getting the carpet to wrap around the random nooks was the hardest part – some of it is still un-stapled.
And there you have it – here are a few pics showing off the three modes of the bed – switching between them only takes a few minutes.
Our First Adventure
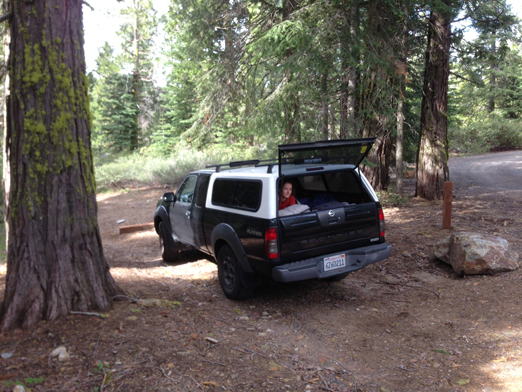
I finally finished around 7pm on Sunday and was itching to try sleeping in it. Monday was a holiday and perfect excuse for an adventure so at around 8pm the Kroleski family left for our first adventure in our newly outfitted truck. Camping is hard to find on Memorial day weekend, but I had a spot in mind just north of Yosemite.
Driving there I experienced the immediate benefits of having a camper shell. We could go into a grocery store to get food without worrying about our stuff. That was the main reason for getting the camper shell, sleeping in it was an add on. +1 point for easy travel.
We got in around 11:30 pm and hopped in the back. I loved not having to do any set up. +1 point for easy setup.
I am 6’2″ and the truck bed is 6′ so I can’t stretch out all of the way. I either have to sleep on my side or at an angle – either of those is fine but not ideal. -0.5 point for me not fitting.
One thing I realized as we got into the truck was that much like pitching a tent, flat ground is a must. Parking on any strange incline would result in an uncomfortable sleep as the platform doesn’t adjust. We had to move the truck slightly to get in a good spot. +0 for needing flat ground.
I brought a summer bag because I figured we’d be warm sleeping in an enclosed space. I was wrong. And cold. We were at about 6,000 ft elevation and it got cold enough that night that I wished I had my down bag. The shell didn’t do that much for warmth. It did however collect a lot of condensation. The windows fogged up and began dripping periodically. I’m sure we could decrease that by opening the windows, but I didn’t feel like doing that on account of the aforementioned coldness. This was a learning area. -1 for bad condensation.
It was pretty nice to be self contained and not have much set-up or clean up. We were pretty low profile and could easily sleep anywhere without drawing much attention. +1 for minimal footprint.
Come morning we woke up with the sun and a few fellow campers roaming around. Curtains would be a nice add on for light and privacy. That sounds like a fun Suzanne project though, I’m not too good with a needle and thread. -1 for privacy.
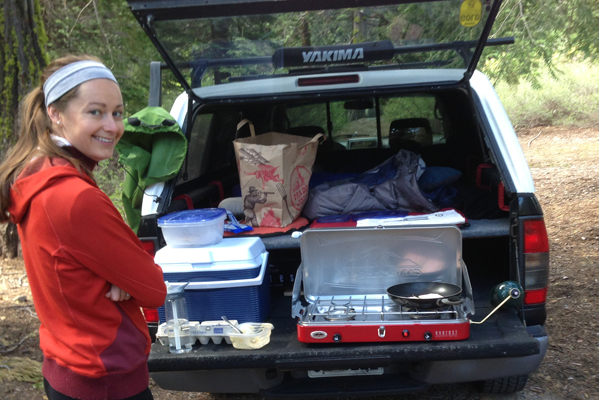
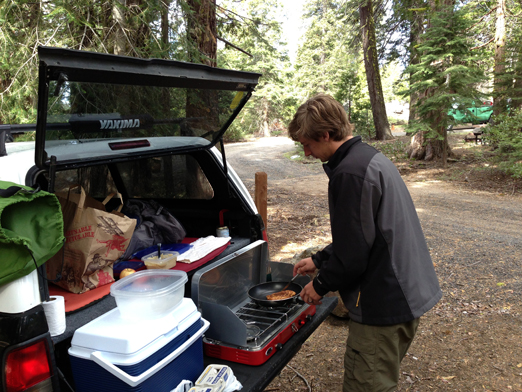
Breakfast was banana pancakes & eggs. Not too shabby. I forgot a spatula though & had to use a knife. That gave me the idea to build in a storage tub underneath with the camping essentials; tp, utensils, stove & pan. That way when we leave to camp we just need to fill the cooler, grab a propane bottle & go. +2 for a place to cook & having everything handy.
Overall, it was great getting to try it out for sleeping. I usually prefer sleeping under the stars over a tent, so the camper seems a bit extreme, but the sleeping platform could be a nice luxury for quick getaway trips or when the weather isn’t behaving.
Like I mentioned before, that wasn’t the main goal, storage and organization were & the platform works amazingly for that.
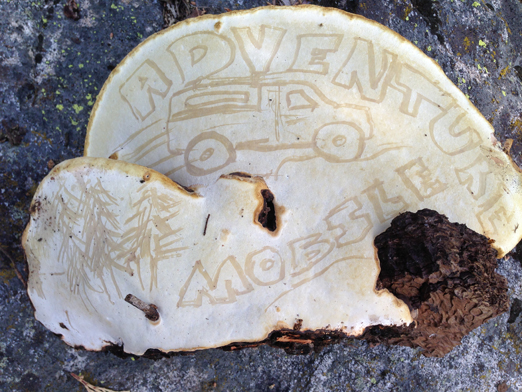
Finally, no inaugural adventure is complete without proper commemoration. So, here is the commemorative mushroom painting to celebrate the first adventure of the new & improved Kroleski Family Adventure Mobile.


I really like what you’ve done here and appreciate you sharing it. I was looking for options for doing something very similar but was planning to use hinges to flip the rear portion of the sheet up until I saw your nice trick of simply using the brackets and gravity to make it work. Makes life a lot easier without the hinge.
It truly appears to be a versatile yet simple solution – Cheers
Awesome build man! I have the same truck and am thinking of using your idea. Is it solid for 2 people? And how exactly did you do the metal corners? Good job man! Looking forward to your reply. Thanks!
-Craig