Innovation Session: Recycling A Broken Surfboard – Part 2
This is part 2 of a 4 part series – you can read the rest here:
- Recycling A Broken Surfboard – Part 1
- Recycling A Broken Surfboard – Part 3
- Recycling A Broken Surfboard – Part 4
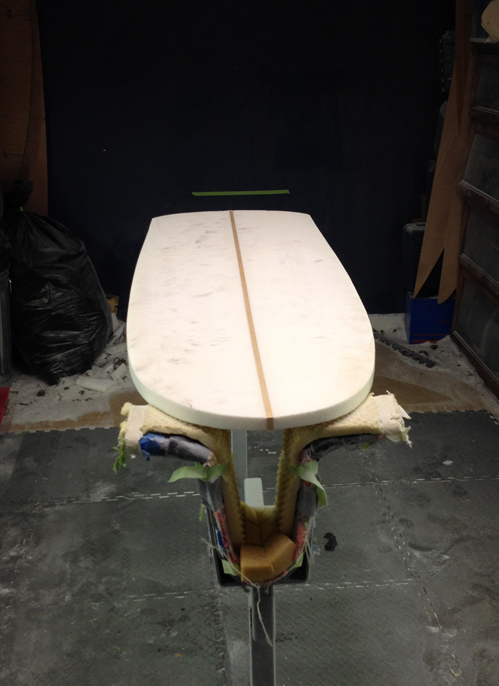
Picking up where I left off about a month ago – this weekend I continued to work on recycling my old broken longboard. The next step of the process was shaping the board. The foam was still pretty rough as you can see from the picture below. The top had a lot of soft spots and divots, both of which can ruin the long term resilience of the board.
The Shaping Room
Shaping a board is a messy job. As layers of foam are carved away using planers, files & sand paper, sticky foam dust escapes. The easiest way to have it all contained is to do it in a shaping room – a special room designed for shaping surfboards. Some of the key features about a shaping room that make them ideal are good lighting to highlight imperfections in the board, an air compressor to blow away the lose dust, a tape line on the back wall to check the level of the board and finally lots-and-lots of tools.
Some day I would love to have a shaping room shed in my back yard, but present day the easiest option was to rent one. A local surf shop has one for rent for $25 an hour. To give context, a board usually takes between 2-4 hours to shape so it isn’t super expensive.
The two things I had to do were change the foil and create the new rails. I didn’t get a good shot of the foil change so you’ll have to take my word for it.
Tweaking The Foil
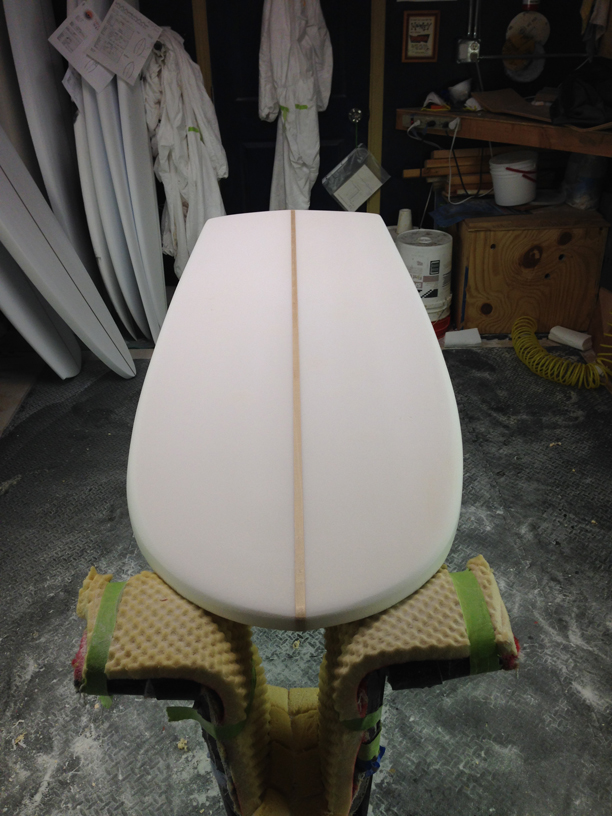
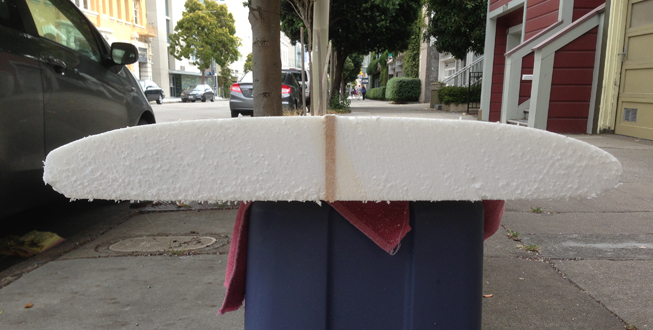
Foil is basically the thickness pattern of the board if you look at it from the side. Since this came off of a broken longboard, the shape was thin up front and continued to get thicker the whole way to the back. That isn’t ideal for a surfboard, you want the tail to be thin to help with turning and water release. I took about an inch off of the bottom, gradually curving from the center.
While I did that I also smoothed the whole shape with sandpaper. You can see below that the foam looks much more pure after I took a few millimeters off.
New Rails
When it came to the rails I had two goals in mind; hard rails on the bottom and keeping as much foam as possible. Hard rails on the bottom help create a carving edge and maximize the surface area. I left them at 90*. For the top, I rounded everything off slightly.
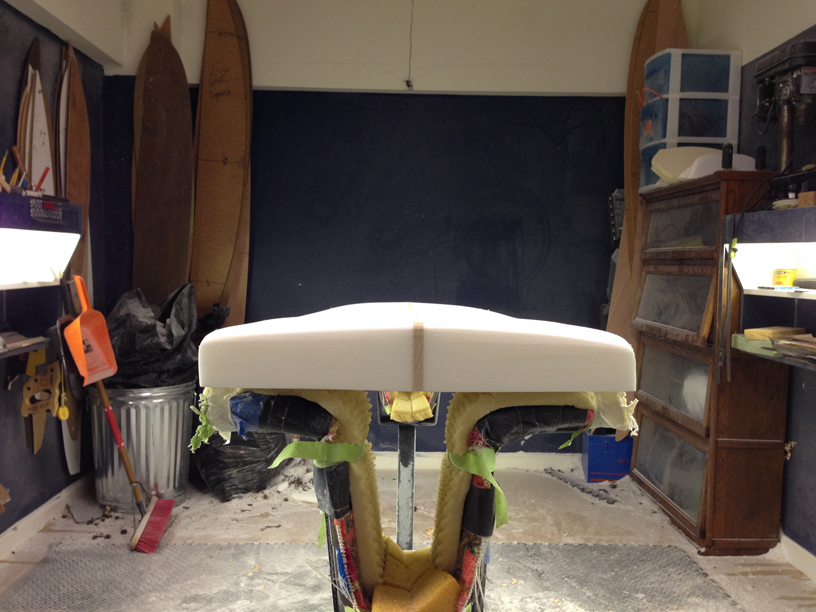
Compare the image above to the previous rails. Quite different.
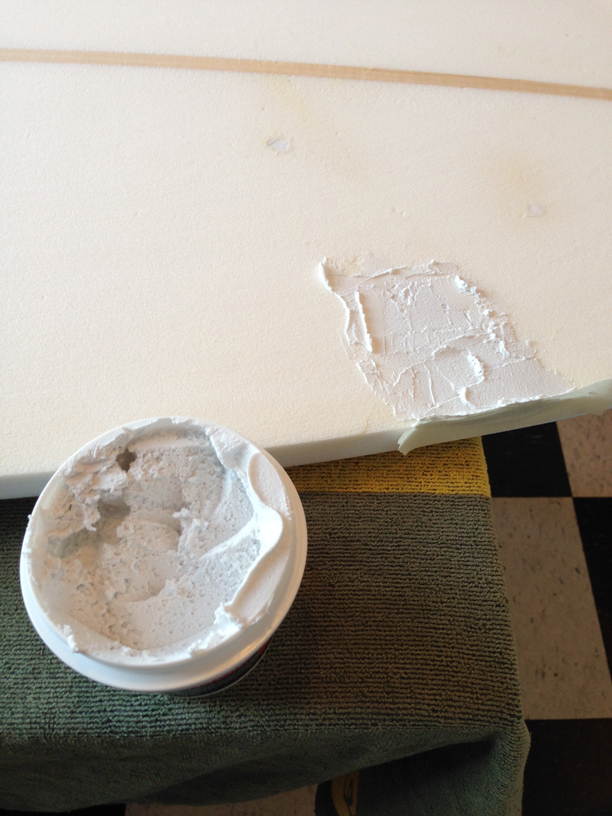
Fixing Dings
The final thing I had to do before painting was fixing the dings. There were a few spots that I had previously carved out for a ding repair when this was a longboard. I wasn’t able to shape around them, so I have to fix them. I planned on using Q-cell, the hardening substance I normally use to fix dings, but a shaper recommended I try spackle. Apparently Q-cell is so hard that sanding it down often ruins the shape of an unglassed board.
I’m still a bit unsure as to how this is going to work, but I spackled two major spots and a couple of little dings. I’ll have to sand everything smooth one final time before painting the blank.
This was part 2 of a 4 part series – you can read the rest here:
2 thoughts on “Innovation Session: Recycling A Broken Surfboard – Part 2”